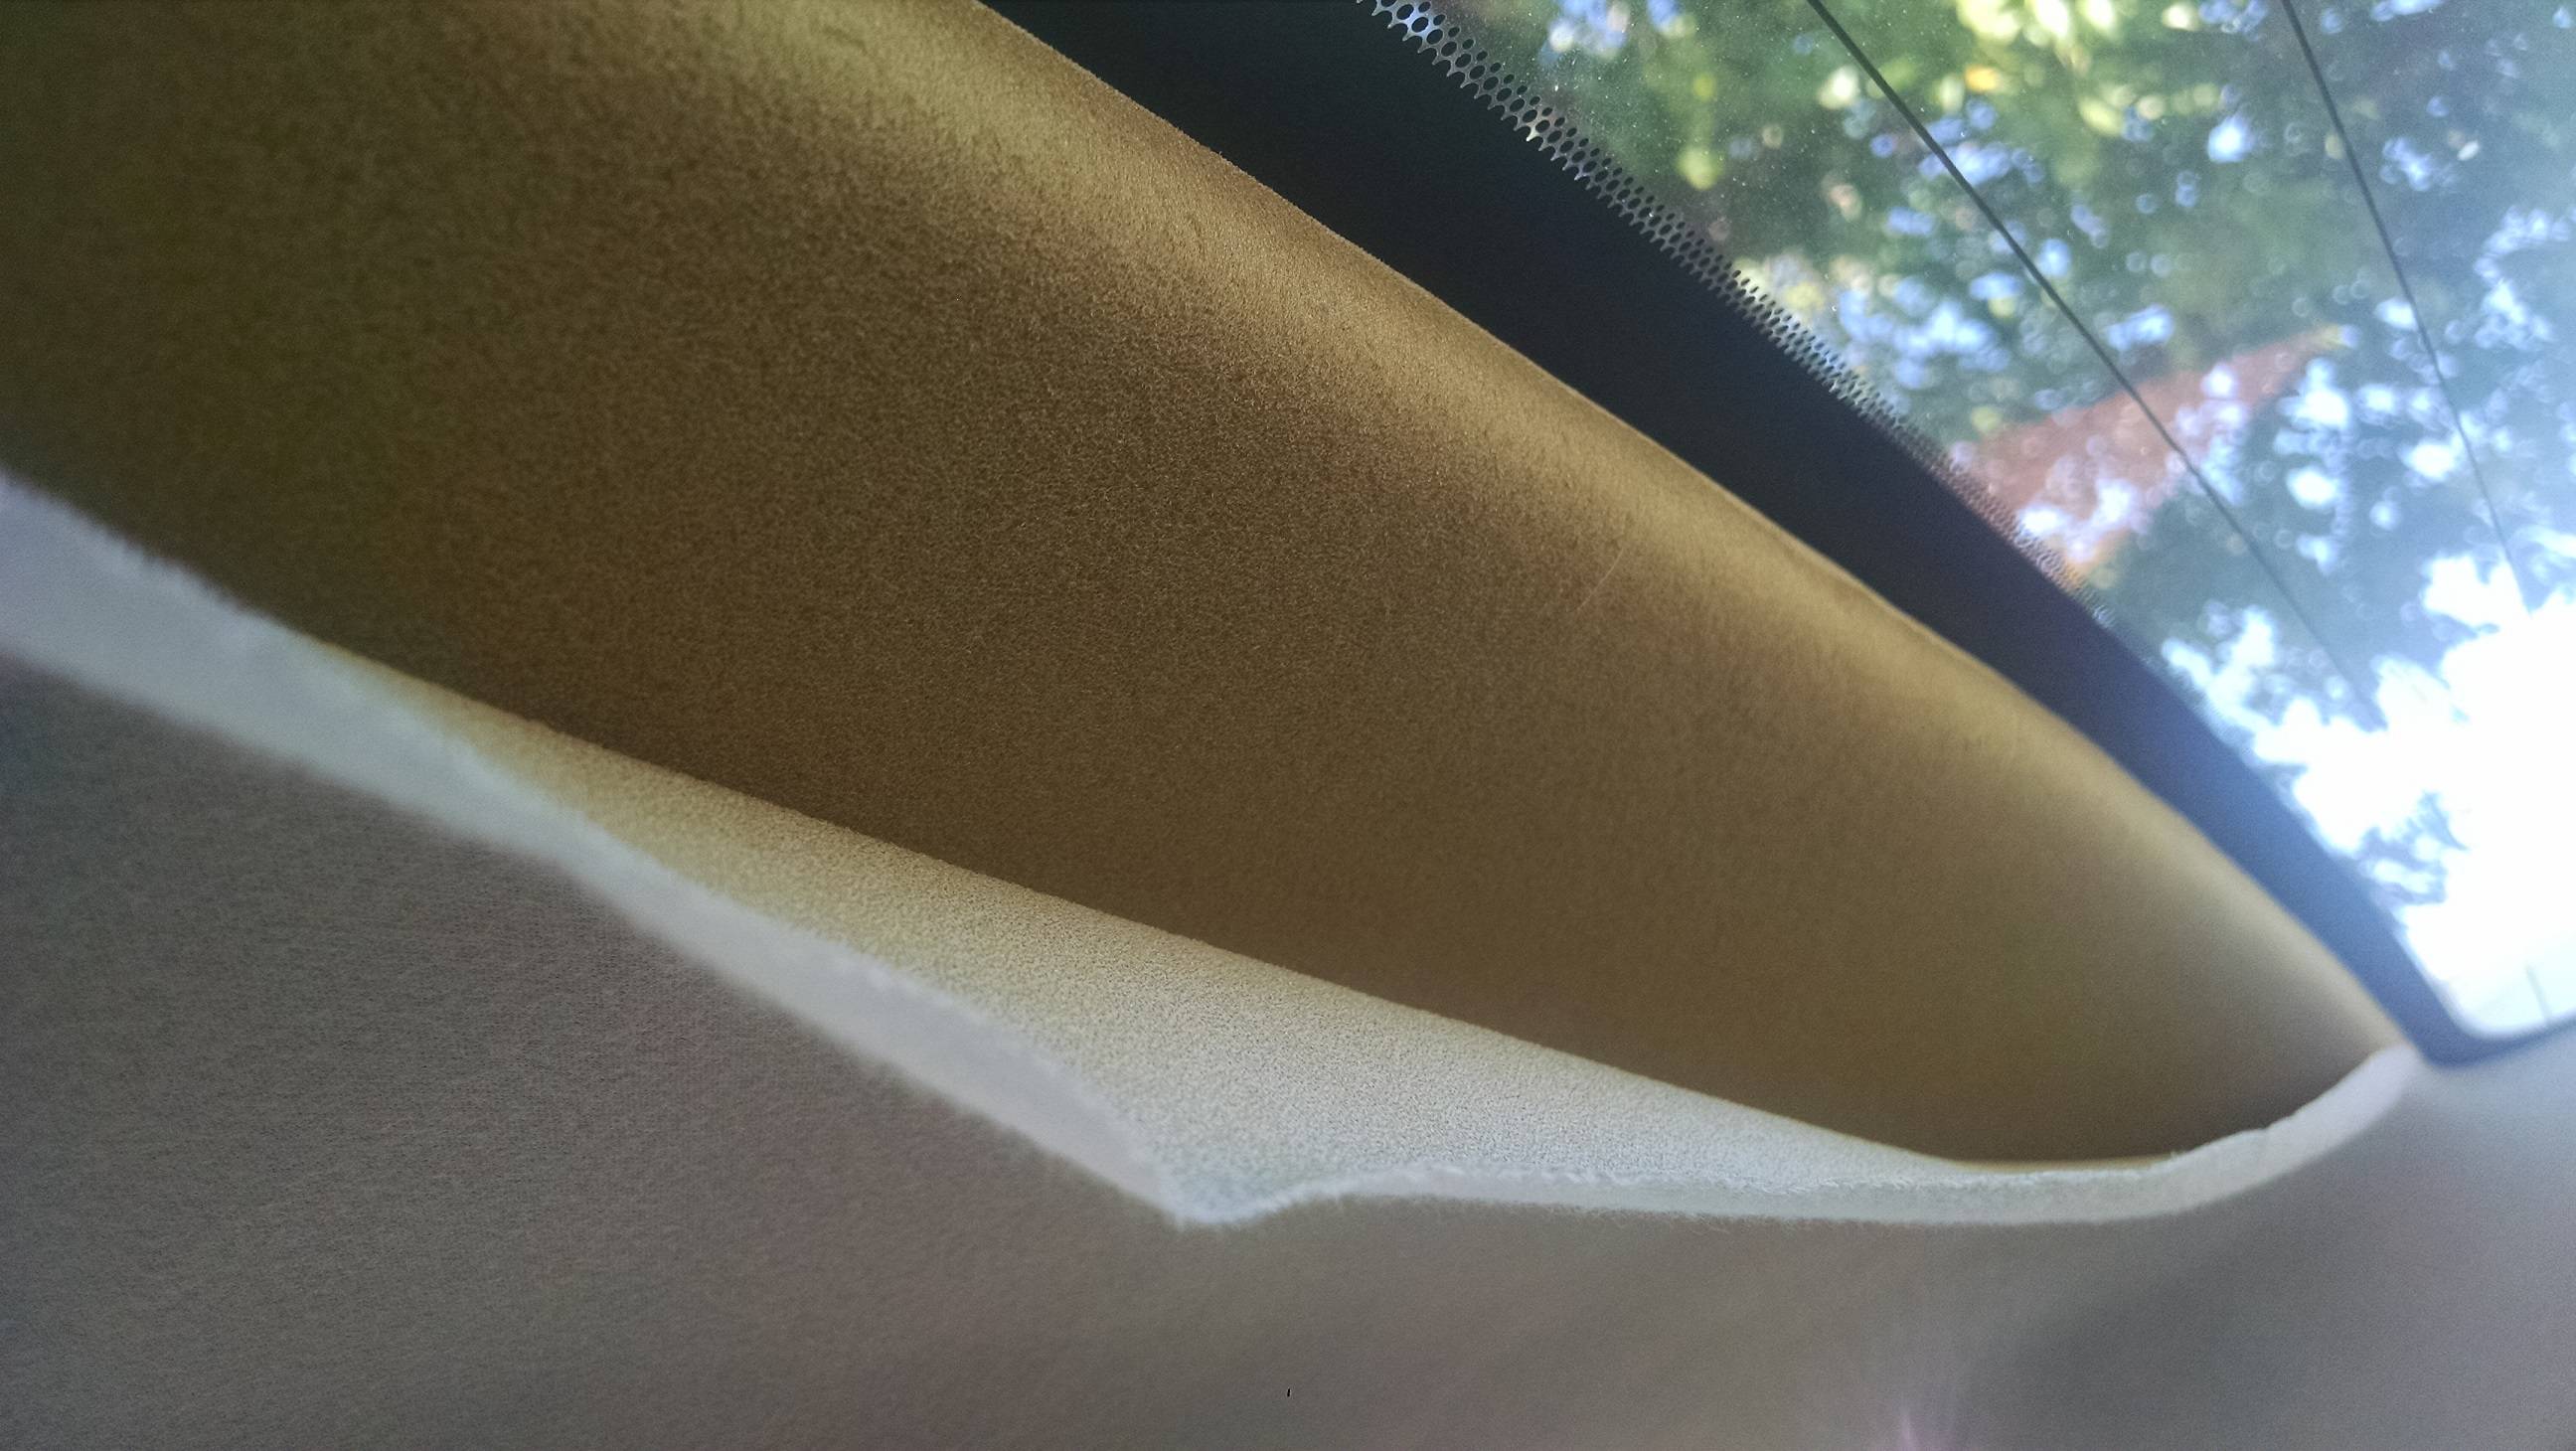
Your suggestion may work for a short period of time, but this is not the way to permanently fix your ceiling.
Your head liner is made with a semi-sturdy backing which has foamed-fabric attached to it. What is happening in your case is the fabric is separating from the foam itself. This happens as the foam starts to deteriorate. Putting adhesive onto the foam, expecting the fabric to stick again will not keep it affixed, but will allow the glue to pull a new layer of foam away, and then it will be more ugly.
There are basically two ways to fix this. The first way is to purchase a new head liner with the fabric already installed upon it. This is a "ready made" solution and is fairly easy, yet more expensive to accomplish.
The second way to fix it is to remove the head liner, remove the old fabric and foam backing from the hard part, then go to a fabric store and purchase some head liner material. It will be pretty much what you already have. You'll need to match this as closely in color as you can to your original. When removing the old foam backing, you need to try to get as much as possible off of the head liner backing itself without destroying the backing in the process. Using a firm bristle brush would assist you in making this happen. It makes a mess, but it will get it clean enough without damaging anything.
Once clean, you'll need to lay out your new covering. Ensure it is big enough to cover the entire area, plus some extra over the sides (at least an inch all the way around). Next, lay the new covering bottom side up next to the head liner backing. Spray both of these with spray on adhesive. 3M makes a whole line of these. Depending on the size of the head liner, you'll need probably 2-3 cans of the stuff to ensure complete coverage. Wait for the adhesive to become tacky, but not so it starts becoming dry (or it won't work), probably around 10 minutes ... you may want to test this on a scrap piece of fabric just to get an approximate time frame. When the two sides are tacky, you'll need to have help placing the new fabric upon the head liner. You'll want to let the center droop and touch down first. Then one person will work their side first, allowing it to go into place without leaving folds or voids which would make for ugliness. When one side is done, work the other side. After both sides are together, leave this until the glue is completely dried. Getting it centered both front-to-back and side-to-side is the most difficult part here. After that, ensuring there aren't any gaps or folds or flaps. Just do it slowly and work towards the outside. Once all is down, lightly press on the material to ensure the entire thing is affixed to the hard piece.
Once it is dried, you'll want to cut any holes you'll need for screws, mountings, visors, etc. Don't go overboard or you'll again have ugliness. Once all of the holes are cut, you can re-install the head liner, replace all of the "stuff" you took off to pull the headliner. As you are putting it back into place, tuck the 1" edge you left around the outside up under the head liner. This will hopefully ensure there is no way for the roof to "fall" again.

