How would one go about recharging the Air Conditioning system on a car? My air conditioning is no longer blowing cold, and I think I need to recharge my A/C.
1 Answer
First, a word of warning. To do it right (and not waste expensive refrigerant, or risk ruining your A/C compressor), you'll have to get a few pieces of equipment. If you're just going to do this once, you could ask your local shop for a quote: the price might come out similar both ways.
I'm going to explain how to do A/C by weight, as that is how manufacturers spec their cars.
Car-Specific Specifications
Car by car, you'll have a different amount of refrigerant required. For your particular car, you'll need to find out:
- What kind of refrigerant (most modern cars use r134a, and that's what I'm writing this up for, although some of the newest ones use r1234yf, and old cars might use r12 or r22. I'm focusing on the procedures for r134a since I'm not very familiar with the others.)
- How much refrigerant (this will generally be measured in ounces, and smaller cars will generally use less. I've seen anywhere from a tiny 12 ounces to a giant 54 ounces) This information can sometimes be found under the hood on a sticker on your car.
- How much oil for the A/C system. Generally, your car will use PAG oils (PAG 46, PAG 100, PAG 150), although it might also use PAO oils. It's generally best to stick with the same as you already have, but interchanging them is possible too. Your A/C sticker in the engine compartment might say how much your specific car uses, or you might have to look that up as well.
Equipment
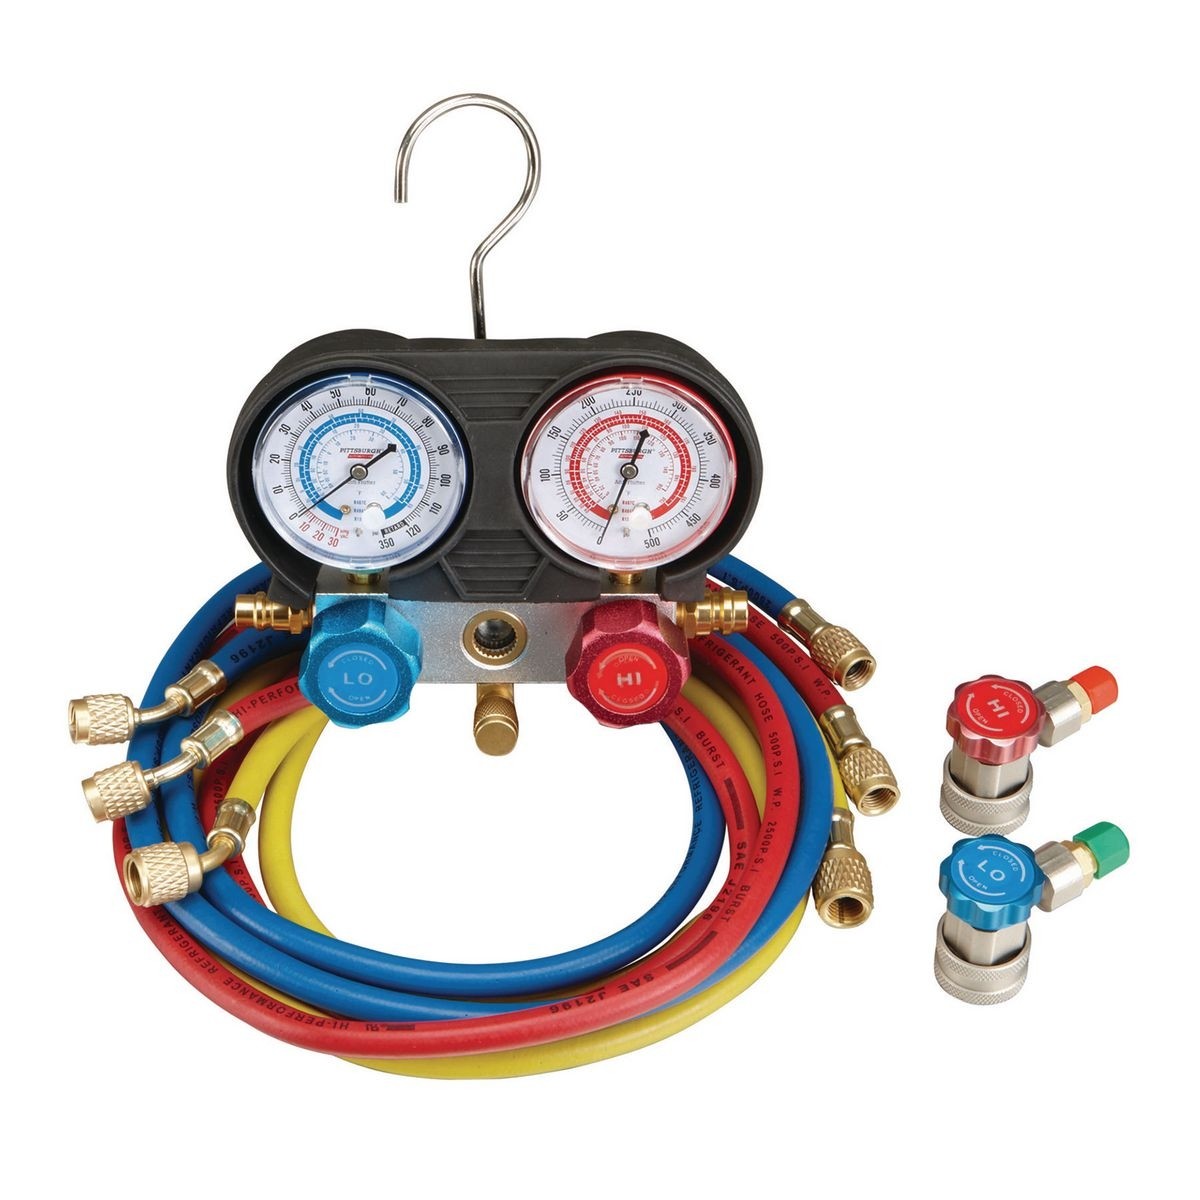
First, you'll need a gauge. This is the thing that will tell you what the system's pressure is, and (importantly) also connect your hoses to the car and the coolant cans. Get one with two gauges on it, so you can see the pressure on both the high and low side of the car. Importantly though, you need one that reads down to 30in-Hg (that's inches of mercury - equivalent to 0 PSI absolute, or -14 PSIG "gauge") so that you can test a vacuum.
Note that these "manifold gauge sets" are refrigerant-specific, as the fittings that are provided for one kind of refrigerant will not attach to a vehicle that uses a different chemical. The most common is probably R134a, unless the vehicle is very old and uses R-12. A very new r1234yf refrigerant equipped vehicle requires some specialized equipment, and may not be a good candidate for a "DIY" refrigerant recharge.
(As an aside, if you have an R-12 vehicle, now is the time to retrofit to the newer R-134a refrigerant, as R-12 refrigerant is almost completely unavailable.)
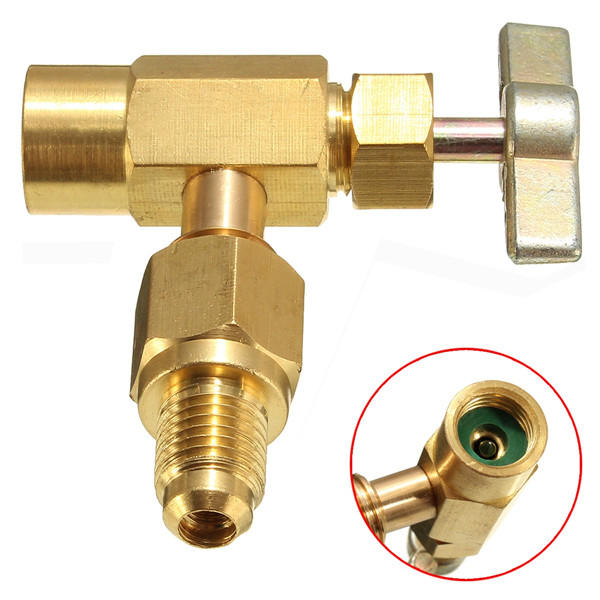
In addition, get a valve so that you can open and close those pressurized cans of r134a at will. Note the spike in the valve. You screw it on the can with the valve open, then close the valve to puncture the can, then open it up when you're ready to let it flow.
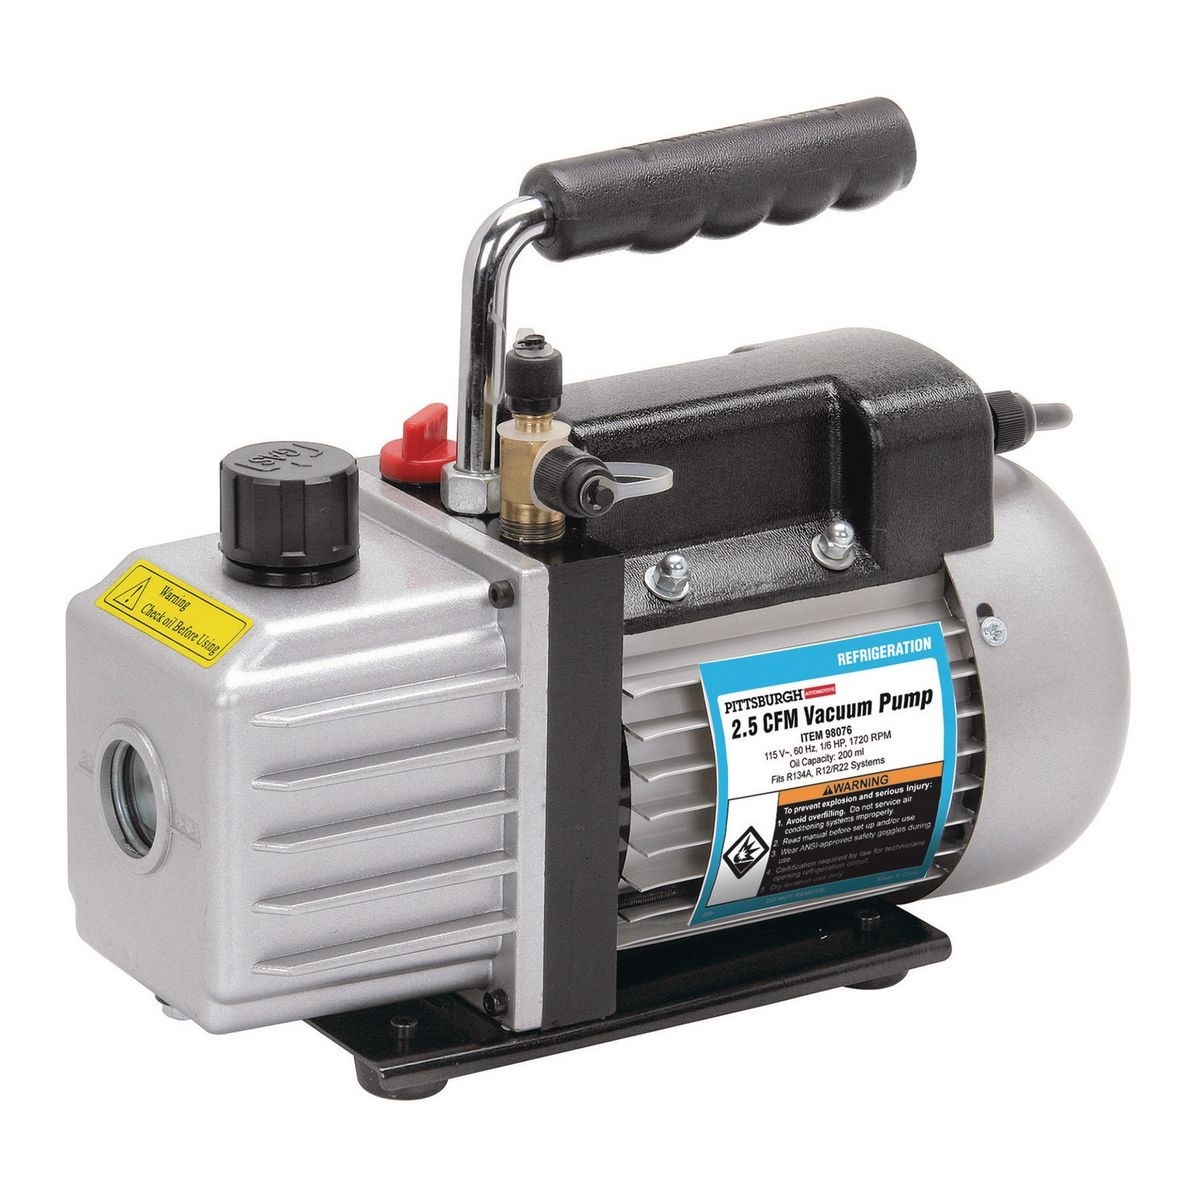
You'll also want a vacuum pump to pump out any air from your A/C system. Here's one from Harbor Freight that has threads that will connect to the yellow hose on your gauge above.
You'll also need a postal scale to measure how much coolant you're putting in. It should measure to a 10th of an ounce, and have measurements in ounces and kilograms. Those are the two units I've seen cars spec'd in. Of course, it's possible to simply convert to your unit of choice, so don't sweat that too much.
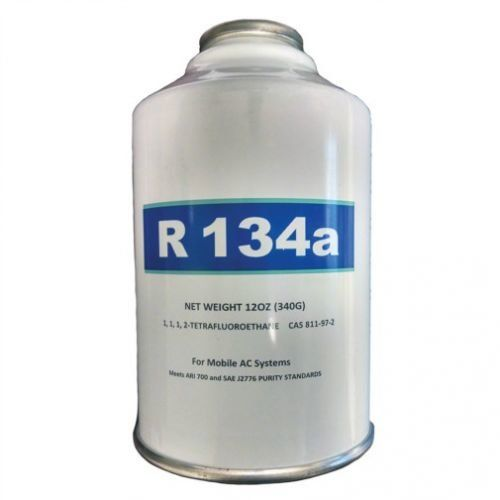
Finally, you'll need some refrigerant and oil. This is the most important part. Your A/C system is designed for very precise limits for performance, so you'll want the right amount of refrigerant.
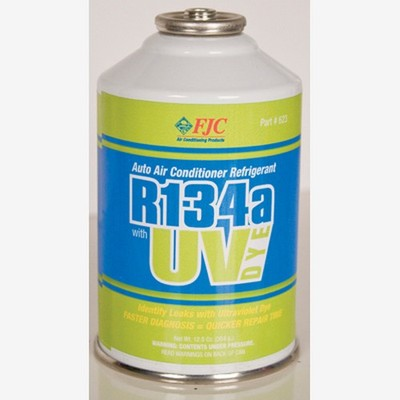
You can also consider using R134a with a UV dye built in. If your car ever leaks refrigerant again, you'll be able to use a cheap ultraviolet flashlight to find where it's leaking from.
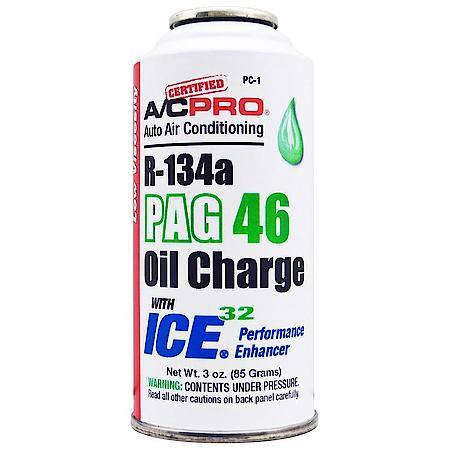
But don't forget the oil! The compressor needs oil to keep running smoothly, so read the spec and get enough oil to put in. Don't get oil in a bottle though -- that's just about impossible to get into the A/C system. Instead, buy it in a can under pressure so that it will feed itself into the A/C system.
Procedure
Once you have all the supplies, it's really not hard to do.
- Find the High and Low side hookups in your car for the A/C system. These are the parts that the gauge (red and blue parts in the picture above) hooks up to. Don't worry; they only fit on one way: red is high, and blue is low.
- Hook up your A/C gauge after closing the red and blue valves. Then slowly open them to discharge any pressure in your system already. Careful! In some jurisdictions, it's illegal to discharge refrigerant into the atmosphere. Either way, it's not great for the environment (although scientifically, less than 0.2% of global warming additions are from car refrigerant). Dispose of that safely.
- Attach your vacuum pump to the yellow out-hose of the gauge, and pump it down to 30in-Hg (the -30 on the blue gauge). Once it gets there, let it run for about 45 minutes to help pump out any residual gases. Then turn it off and leave it there. After about 2 hours, come back to make sure it hasn't lost vacuum.
Help! It lost vacuum!
Don't worry. If you're having to recharge your A/C, it's likely you have a leak. But most leaks are easy to fix. About 90% of leaks are from O-rings getting old and no longer sealing like they should, and sometimes the schrader valve stem seals in the refrigerant fittings leak. If you can hear the vacuum losing its vacuum, start with where you can hear it from. You can visit your local auto parts store, and ask for a set of o-rings for your car, or you can take out the bolts holding different A/C pipes together, and take out each one and replace them all. Just put it back together after you're done and repeat step 3 until it holds a vacuum! Don't go further though if you can't hold a vacuum. There's no point in filling up the system if you can't hold 30in-Hg, because you'll end up just losing all the refrigerant. If you cannot locate the leak easily, you may be able to rent or borrow a refrigerant leak detector. If not, you can charge the A/C system with a small amount of refrigerant (perhaps 4 ounces), and then spray every connection and fitting with soapy water. This usually works well and the bubbles from the leaking area will be obvious.
- Now that your system holds vacuum, close your valves and deattach the vacuum pump. You don't need that anymore.
- Put your valve on the end of the yellow hose, and attach your oil can. (after opening your valve)
- Put the (full) can on the scale, and press the TARE or ZERO button. This will allow you to measure how much oil has left the can.
- Put the manufacturer-recommended amount of oil in, by slowly opening your (blue) low-pressure valve on your gauge. The red (hi-pressure) valve should stay shut: it's used just for monitoring. The oil is especially important if you had to replace the compressor or if the car has been without air conditioning for a long while.
- You can measure the amount of oil you've added by measuring it on the postal scale. Since you zeroed it to the weight of the can and the oil, any negative number is the amount of oil you've added to the system already.
- Close the puncture valve (turn counter clockwise), and gauge valves (turn clockwise), and remove the oil can.
- Turn on the car, and set the A/C to the max setting. The A/C compressor will not turn on until you add some refrigerant, but we need the car to be on so that when we add enough to get started, the compressor will turn on and move the refrigerant through the system.
- Repeat steps 5-8 with refrigerant cans instead of oil, to the required weight of refrigerant. The compressor should kick in sometime during this process. (If it doesn't, you either have a bad sensor somewhere, a bad compressor, or bad electrical connection somewhere.) If you submerge the refrigerant can in bucket of very hot water (tap, not boiling) this will speed the filling process.
- You're done! Close all the valves, disconnect tubes, and replace caps.
Troubleshooting
If your high side pressure goes up very quickly (300+), and the low side goes into a vacuum once the compressor engages, the system has blockage such as a plugged expansion valve or orifice tube. If, when the compressor engages, neither gauge pressures move (they stay the same), the compressor has failed and needs replacement.
-
3
-
Thanks, I appreciate it! (It's also nice to see something at the end of my post -- evidently it's possible to make it all the way through ;))– CullubCommented Jun 10, 2019 at 14:43
-
Great answer. Just something that makes me wonder: Do I fill at the high or low side? How do I interpret the pressure values at high and low side?– MartinCommented Jun 10, 2019 at 19:37
-
Good point (you fill the low side). I edited to that extent. Actually, I've never used the pressure gauges other than to check that they're not acting crazy (and holding a vacuum). If you'd like to edit more info in on that point, I'd appreciate it! (I'm assuming you were talking about pressure gauges not valves.)– CullubCommented Jun 10, 2019 at 19:44
-
1PAO oil doesn't dissolve in any modern automotive refrigerant that i know of. Never fill or service an automotive system with PAO oil because anything that ends in the discharge side hardly ever returns to the suction side timely enough.– Al_Commented Jun 11, 2019 at 19:22

